
Checklist Scheduling
How to add an automatic inspection schedule to a checklist template and receive alert notifications when the next checklist is due.
Last updated 10 August 2023
Add an inspection schedule to your checklist templates.
Here’s how to automatically schedule your checklists and receive alert notifications when they need to be completed (steps below):
This article originally included a walkthrough video: watch it on Loom.
Step 1: Edit a template
First, choose a template you’d like to schedule, for example, our Vehicle Safety Checklist template (available in our template library). Click the edit icon and then navigate to the Schedule tab.
Step 2: Create a schedule
Click the checklist schedule checkbox and you’ll see some options.
The default setting will automatically schedule the next checklist for the next day after the first checklist has been marked as complete. The scheduled checklist will be a blank checklist.
To change the schedule simply edit the number and days, months or years.
There are 3 data options, Blank, People & Equipment and All Data.
- Blank: schedules a new blank checklist.
- People & Equipment: this adds the lists of people and equipment from the previous checklist to the scheduled checklist.
- All Data: This will carry forward people & equipment lists and all question responses, notes and images from the previous checklist, except for signatures.
Step 3: Complete a checklist
Once your template schedule has been set, when a Team Member completes a checklist, we’ll automatically add the next one to their schedule.
When the scheduled checklist is due, we’ll send notification reminders until the checklist has been started.
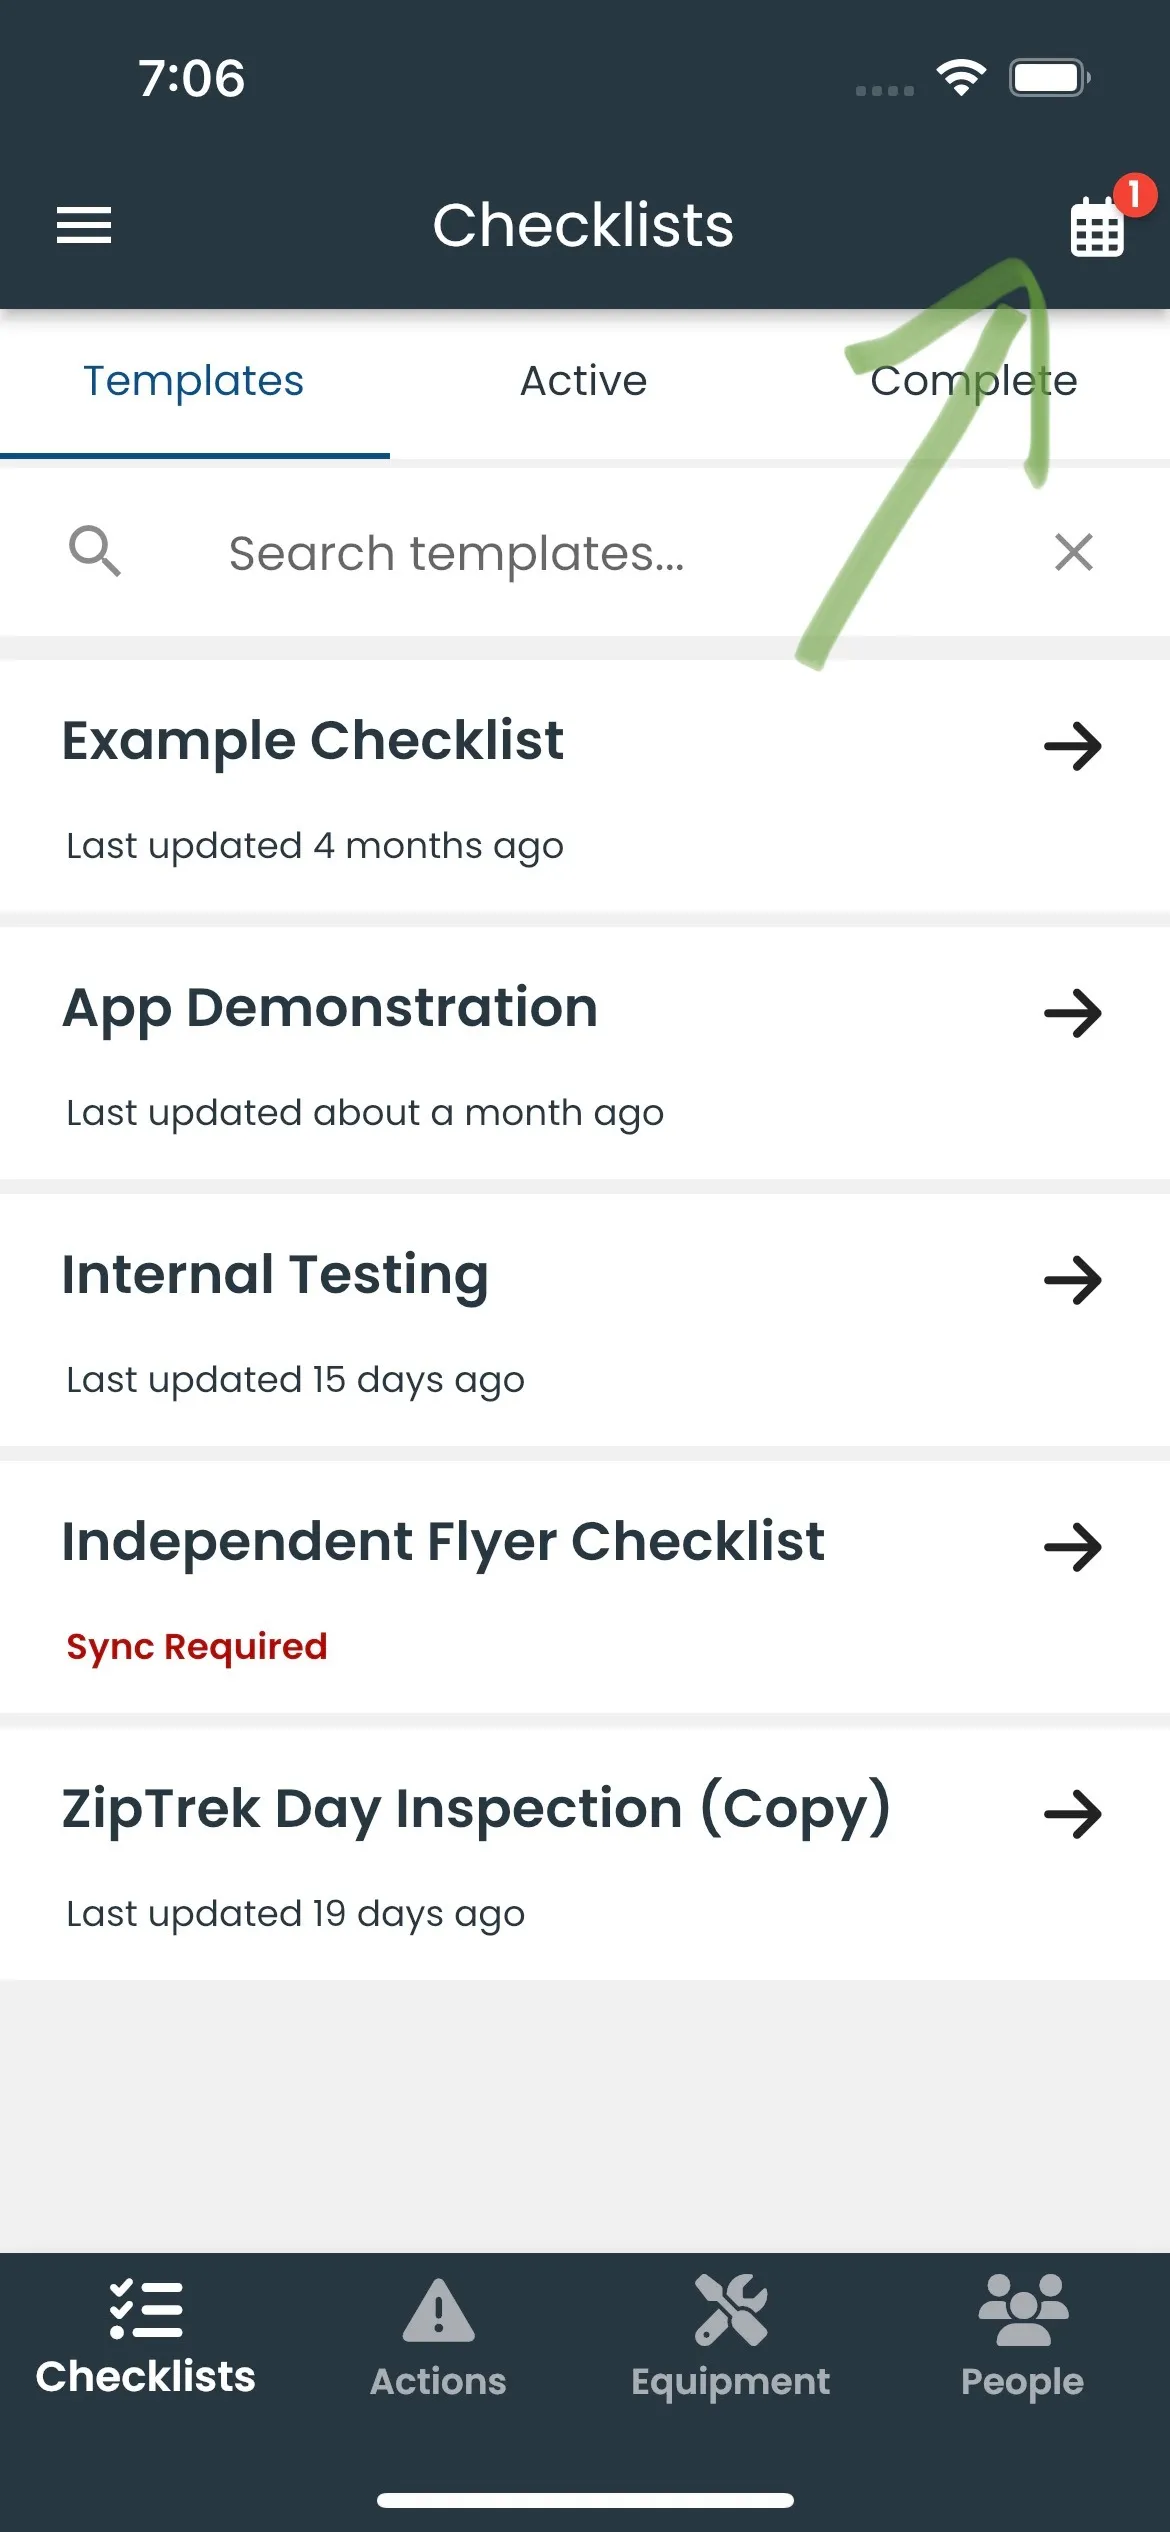
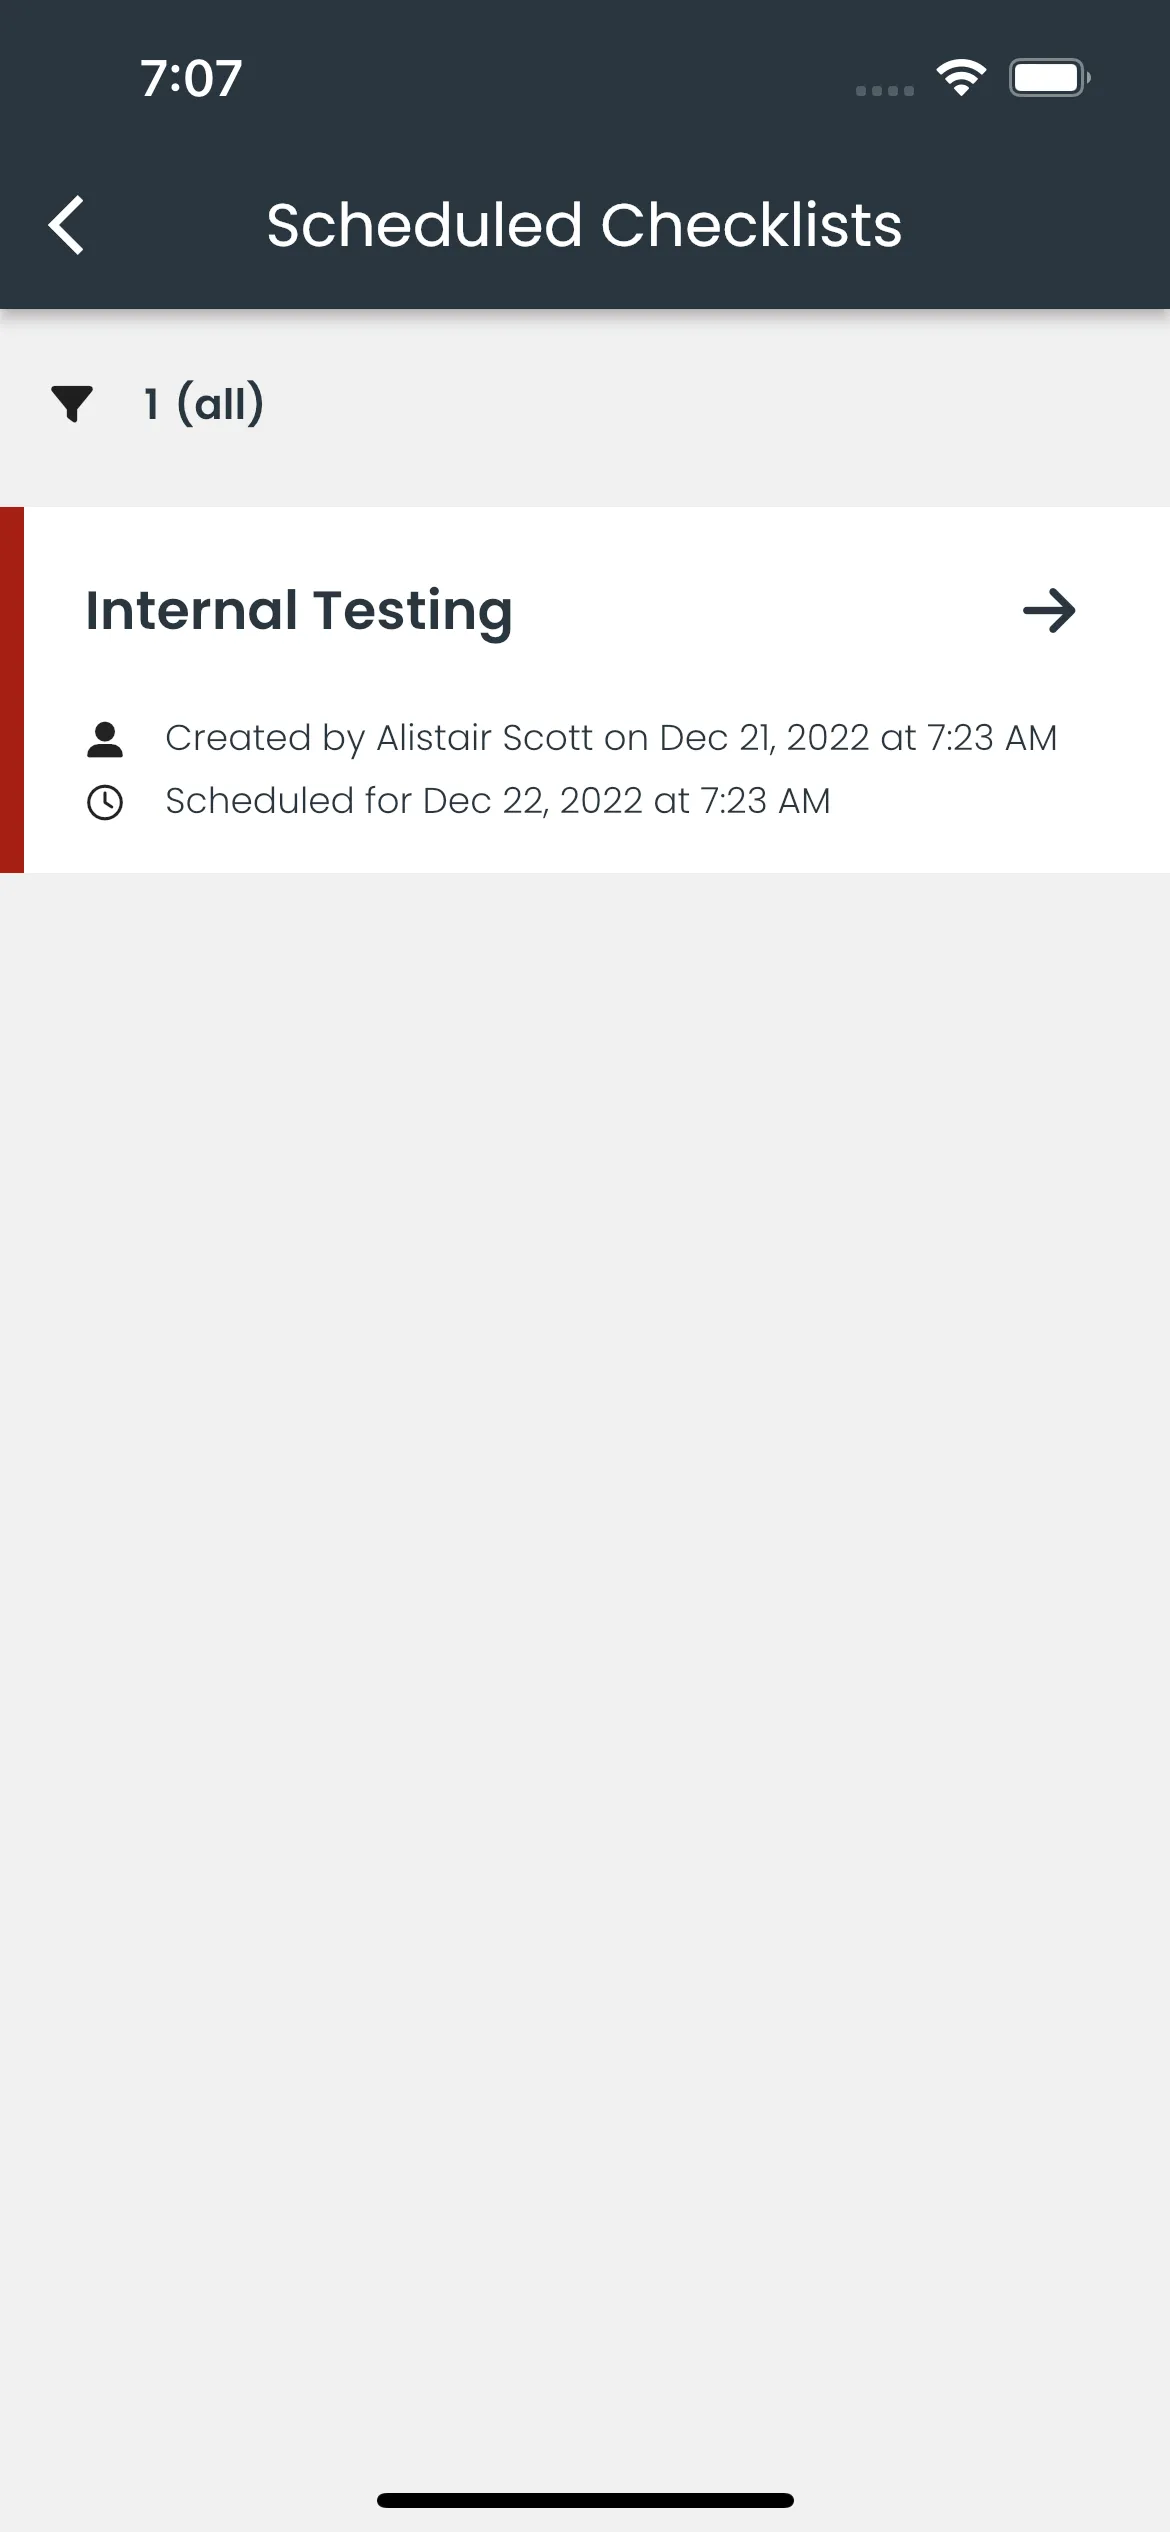
To use the scheduled checklist feature, make sure the app is up-to-date. To view scheduled checklists, tap the calendar icon at the top right corner of the app home screen.
 |
 |